Run your first sync
Your first sync happens at the end of setup — on Step 3 · Mapping — not from the project dashboard.
Wizard order
Section titled “Wizard order”- Framer — project URL + API key
- Notion — setup path + connect + pick database
- Mapping — map fields → Create & sync
Map fields (step 3)
Section titled “Map fields (step 3)”On the Mapping step:
- Turn on each Notion property you want in Framer.
- Pick the slug property.
- Review automation toggles (auto-sync and auto-publish require a paid plan).
- Click Create & sync.

After setup
Section titled “After setup”KnotCMS opens your new project page. The sync from Create & sync already ran — check last synced time and item count.
On Basic, status shows Manual sync only. That is normal; you do not need a Notion webhook.
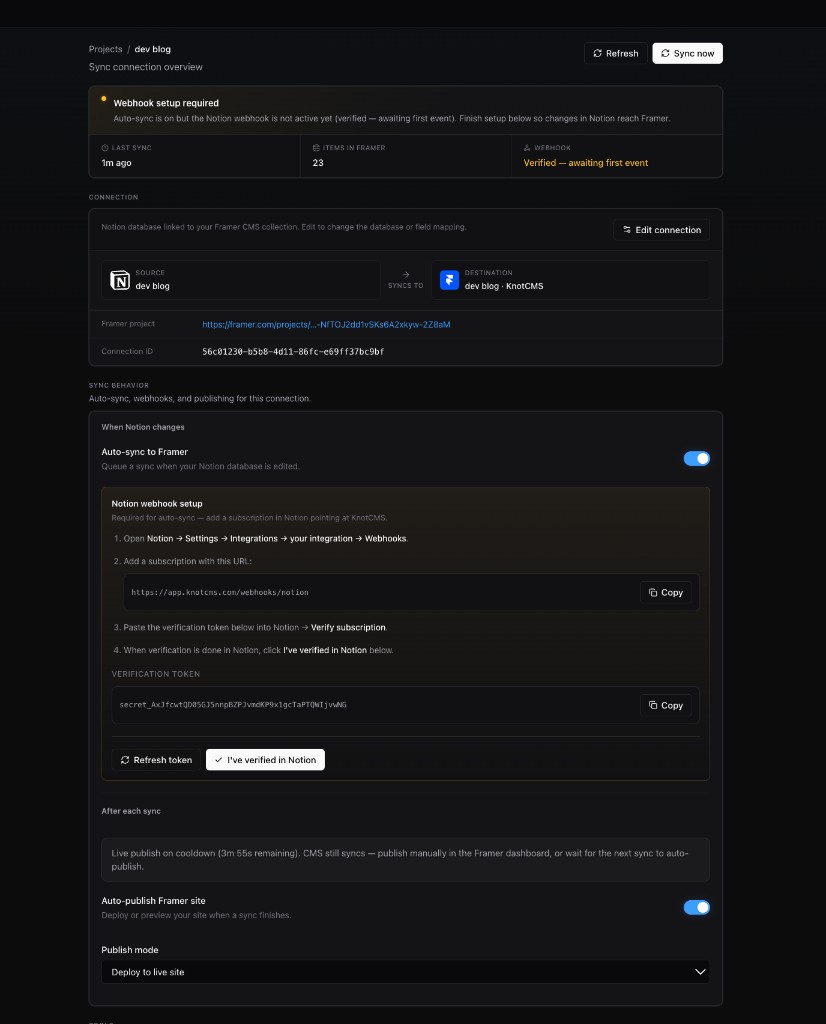
If you enabled auto-sync (paid), the page may show Webhook setup required until you verify the Notion webhook. Your first sync still succeeded — finish webhook setup so future Notion edits sync automatically.
Sync again later
Section titled “Sync again later”On the project page, click Sync now for additional manual syncs.
Verify in Framer
Section titled “Verify in Framer”Open your Framer CMS panel and confirm items appeared in the KnotCMS-managed collection.
Next steps
Section titled “Next steps”- Webhooks & auto-sync (paid)
- Auto-publish (paid)
- FAQ